Pages

Friday, June 11, 2010

I made a curtain, part two


In part one, I rehashed how I came to decide to make my a curtain for that skinny foyer window, a.k.a. sidelight, and how I finally found the perfect fabric for it.

But let's back up: That fabric. That amazing Dwell Studio fabric is just that. Amazing=pricey. $35 a yard to be exact. Because it's actually an upholstery fabric and a name brand, it's more expensive than your everyday cotton pattern fabric. And after measuring the window, I determined I would need 3 yards, or $105. Someone grab me a chair, I'm gonna faint. Ouch. Here I was talking about not buying a ready-made sidelight curtain because of the price and I'm going to shell out $105 on 3 yards of fabric?! Actually, no. I'm not that insane or spoiled. It was Memorial Day weekend, and Jo-Ann's was having a half off sale. $17 yard it was. Still pricey, but considering that I was getting exactly what I wanted, it was worth the extra expense. And the bonus: The window was only 14 inches wide, so I would only end up using around 30 inches of fabric (front and back) to cover my window, leaving me with leftovers for other creative projects that I'm sure will be another post. So not only was I getting a fabric I loved for half the price, I was going to be able to use it again.


Oh, and I forgot to mention what else drove me to my decision: my husband. That's right, I dragged him along with me to Jo-Ann's. Ladies, feel free to do a swoon if your man refuses to enter a craft store. I won't say there wasn't any kicking and complaining, but he knew I couldn't make this decision on my own. So I patrolled and I contemplated, and I probably asked Jonathan a million times what he thought of this or that fabric. Until Holy Grail! I think I found it! The price left me crestfallen, and I was experiencing more than a little trepidation at the thought of handling such a fine fabric when my sewing days were somewhere back in 8th grade when I had to sew a plush football. But after some consultation with my sister, that honey of mine said, "Let's get it!" and stalked off to get our cut of fabric. Hy hero!

Like I mentioned, I don't own a sewing machine, so feeling inspired by Young House Love's no-sew curtains, I picked me up some Heat N Bond. When we returned home, I laid out the fabric on our guest bed in my craft room. What exactly had I gotten myself into? I'm about to cut a $100 worth of fabric. I'm no amateur seamstress. But I measured and measured and measured. And I thought and I thought and I thought. And I got to work. This curtain wasn't going to make itself, even if I thought at that price it should.

Thursday, June 10, 2010

Tiny beauties


I went to Target recently and picked up these little guys for $3. $3. I love that they come in their own little egg carton. I'll take a dozen, please. I controlled myself and went home with one carton, and I'm still trying to decide what to put in them. I don't have flower or foliage yet that I could pluck and pop in there. But that's all the fun.


Tuesday, June 8, 2010

I made a curtain, part one

for my sidelight. I still can't believe it. Me, someone who is usually pretty quick to give up when a task seems too hard. First things first, what exactly is a sidelight and why does it need a curtain?


A sidelight is a long window next to the front door. There can be one on each side, and they may only run half the length of the door. We only have one, and it goes from floor to ceiling. Floor to ceiling. Not much for providing privacy. As the name implies, they do provide some light into our foyer, but not so much that we didn't want to leave it uncovered.

But how exactly to cover it? I had heard of those frosted privacy window film clings that you just cut to the size of the window. Light gets in but no peepers see in. Problem was our front door doesn't have a peep hole in case we should get a visitor, so we needed to still be able to see out of it. That left finding a sidelight curtain, which turns out harder and more expensive than was worth. Did I mention they are ugly sheer monstrosities with no style whatsoever? Not only were they expensive, they weren't what I wanted=not worth it.

That left only one option: I had to make a curtain. I didn't even have a sewing machine! No matter. I had the perfect no-sew inspiration from Young House Love's post. Combine that with the most perfect fabric on sale at Jo-Ann Fabric's. It's Dwell Studio's Cameo Ovals.

Saturday, June 5, 2010

Window shopping: Rugs


We need an area rug for our living room. I want something contemporary. I'm loving this bold yellow rug from RugsUSA.com. I think it would complement our Harvester yellow walls nicely.

Friday, June 4, 2010

Coming out of my shell

Things didn't stop with mantelscaping and painting when Capricious was here (I told you she was fabulous. Lucky for us, she's my sister, or I'd probably have to pay her. We did feed her and she seemed okay with that.). Once we established that Behr's Rain Washed paint color was an excellent choice for my walls—the perfect combination of fun and relaxation—next was figuring out how we could work that combination into my limited decor. Using things I already had and wanted to keep around, mixed with small items I could buy that wouldn't break the bank.

I've always been a fan of Coastal Living magazine, and beach-style decor says peace, calm, and quiet to me, exactly what I wanted my master bedroom to tell me at the end of my increasingly long and stressful days at the office. I wanted it to tell me: This room is your oasis. Come in, relax, and put your feet up.

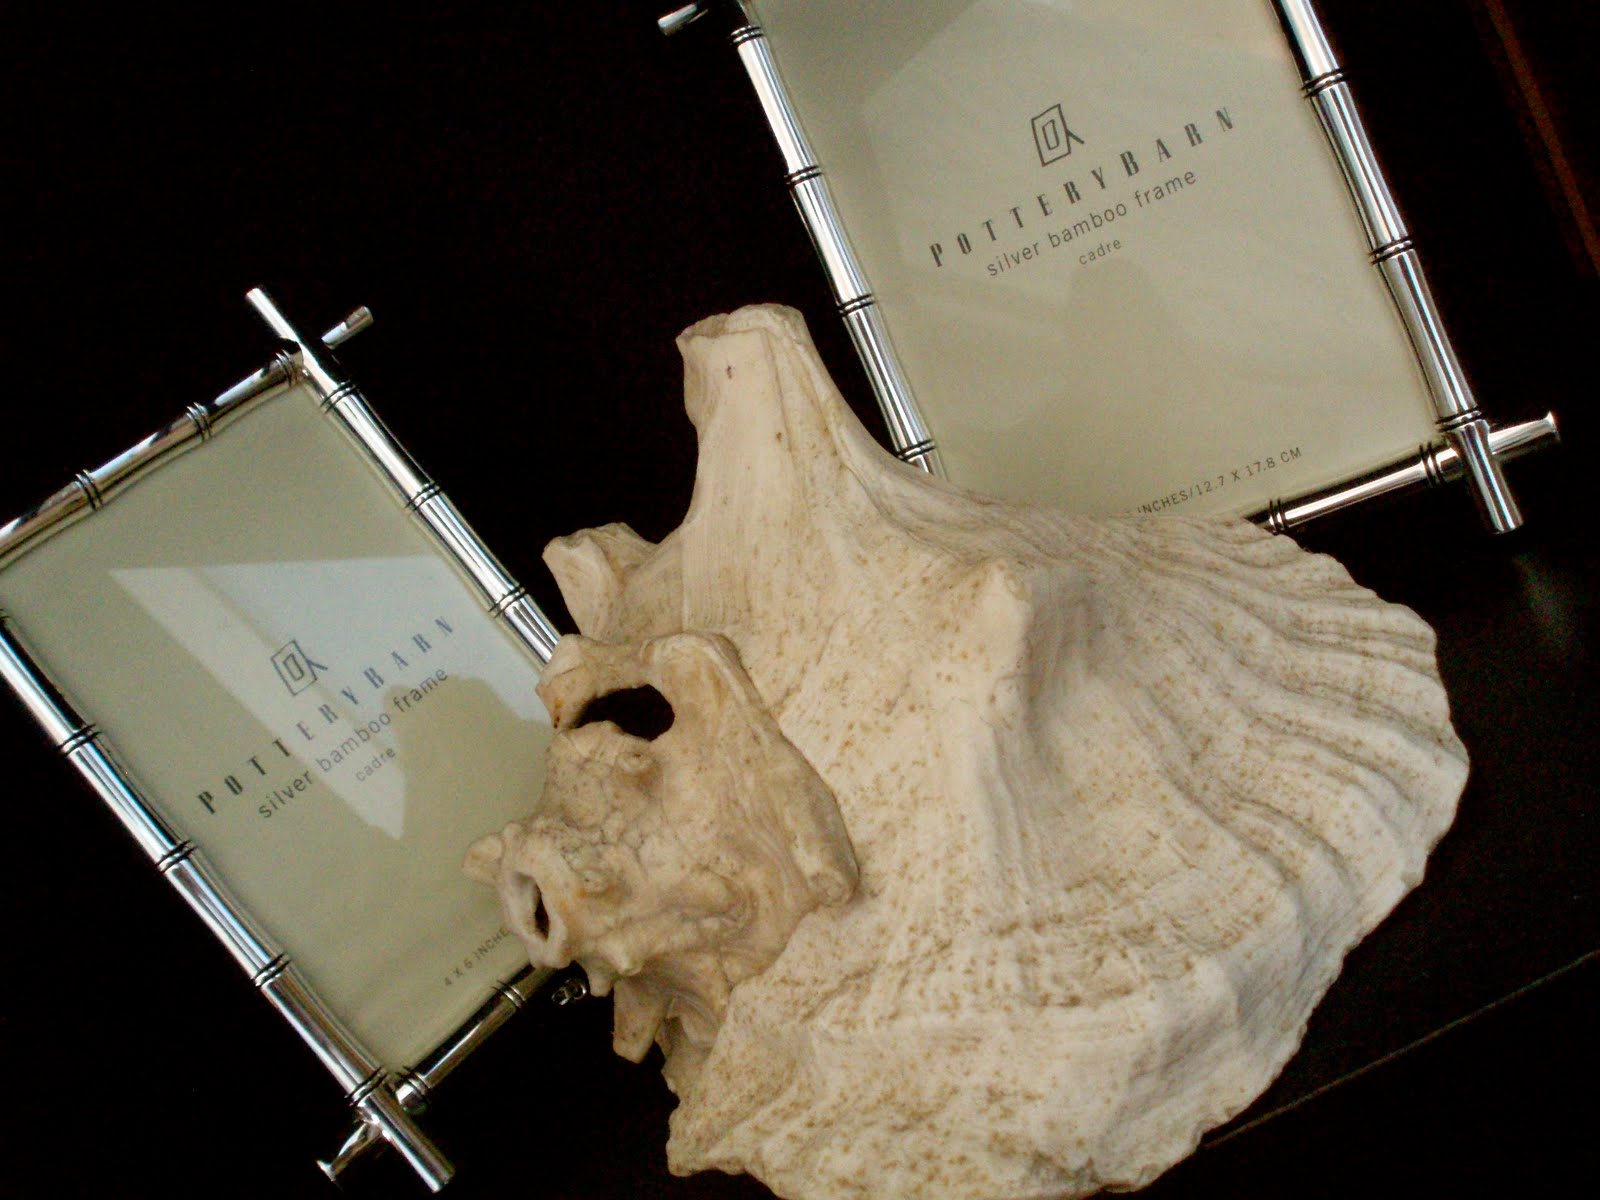
Nothing says beach more than sea shells, but if I was going to go that direction, it couldn't be kitschy. I wanted a classy, cozy, and comfortable cottage style that didn't scream country, since that's not our thing at all. Perusing Pottery Barn's latest summer catalogue, I was able to get an idea of what I could do. Among them was using a conk shell and coral that Jonathan already owned. Both real (sad, but true about the coral; there's now plenty of places including Pottery Barn where you can get fake coral, leaving the real stuff intact), and both very beautiful. They'd make perfect additions to the my black bedside bookcase we already owned. That's right, black.

In discovering our new-found themes for our house, we couldn't help notice we owned a lot of black. Black furniture, black frames, black lamps, lots of black accents. It was immensely popular when I was in college, and I still love a dark color any day. But white is the new black, and I was more than ready to break out a paint brush to bring them into the new era. But Capricious stopped me in my tracks. Why paint all this stuff white when you can make black work? Seriously, the girl is brilliant. And we didn't have to paint or change a thing, which was fine with me. I really loved the contrast it brought into the room.

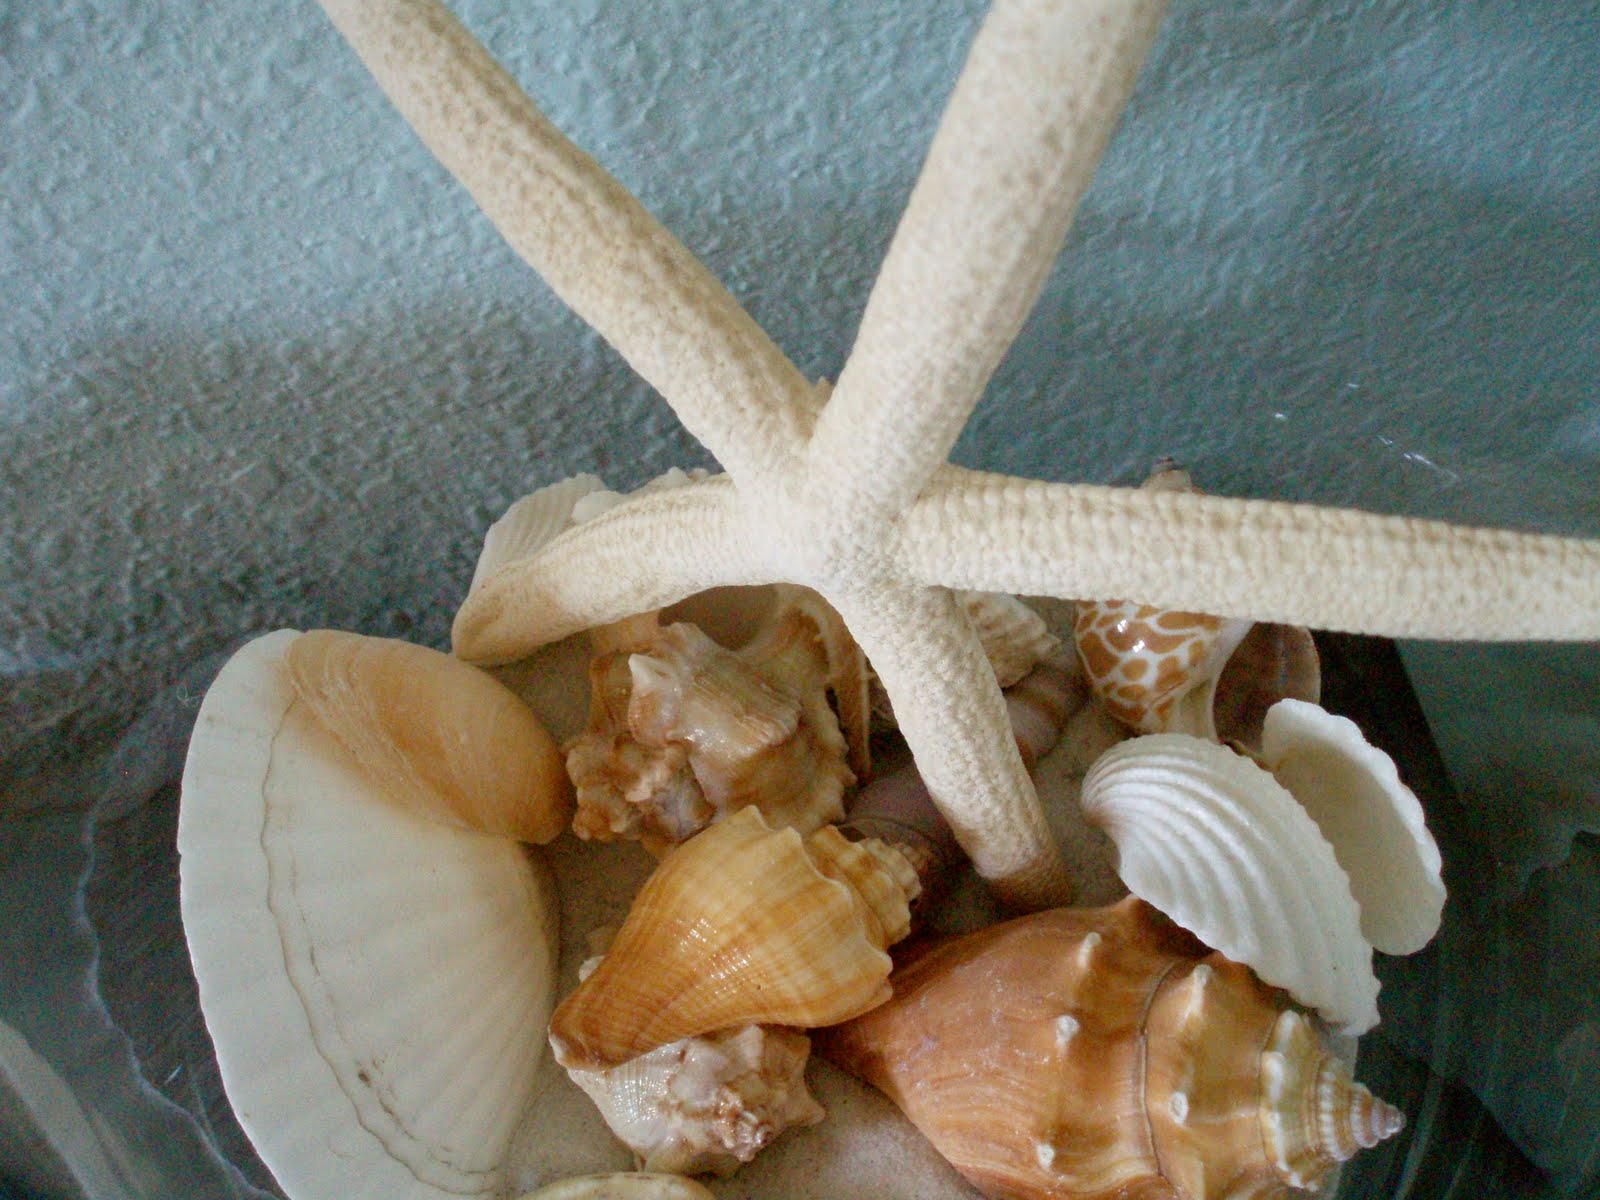
So back to the bookcase and those shells. Using those real ocean pieces Jonathan already had, we also wanted to bring in some other shells and maybe sand for one of those cool oceanscapes that use found beach items in some vessel. I already had the perfect clear vase, we were just lacking a beach for the rest, but that's why they invented Michael's, where we found not only sand (they have all colors, we opted for your everyday beach variety) but also a bag of shells and then just for something special, a starfish. We carried it all home and sorted through the bag of shells. I didn't want to use all of them, so we chose only a select few we liked. And this is how it turned out and at the conk and coral. Ignore the empty photo frames. I'm still trying to decide what to put in them.


Tuesday, June 1, 2010

Can't get enough G

When Capricious graced us with her presence, I thought we'll go through my mismatched decor. Laugh our butts off at my lack of taste. And possibly slap some paint on the walls. And we did that and more. Mantel more. Homemade art more.

Because we struck upon a theme I could get behind—the letter G—we ran with it. Or rather, Capricious did and I just went along with it. Our inspiration was a black letter G that my other sister had given me for Christmas a couple years back. Capricious came up with the idea of using black frames I already had on hand and stamping some Gs on some patterned paper—items pulled from my stamping collection. Easy and cheap. And just the beginning of what I'm calling Project G. Here's how our creation turned out and a peek at the mantel.


Thursday, May 27, 2010

Brought to you by the letter G


While Capricious was out here, themes from my decorative chaos emerged. We went through my limited collection of decor and discovered I owned nothing that went together, or at least that I wanted to be a primary theme in my house. (I don't think my house really says morrocan gypsy like these jewels do. Fun, but not an everyday look I was going for.) There were pieces I owned that really stood out as something to work from. Among them, the letter G. Which is right up my ally as a sometime typography aficionado. I love me some type, and in my down time, when a design mood takes hold, I can often be found perusing the latest type at dafont.com.

Capricious and I already managed to whip up some free art (that's for another post) to grace my mantel working with the G theme, and after splurging a tiny bit for another item to start rounding at my mantelscape, I wondered what else I could make or buy on the cheap. I didn't have to look far for ideas. In my own blog backyard, I found the Daily Drop Cap. G, how perfect. Now to transfer my big idea from my head to house.